

(Originally, this series was titled “Quarantine Provisions” — but of course, our government doesn’t do sensible things like Quarantining to kill off a pandemic, so…)
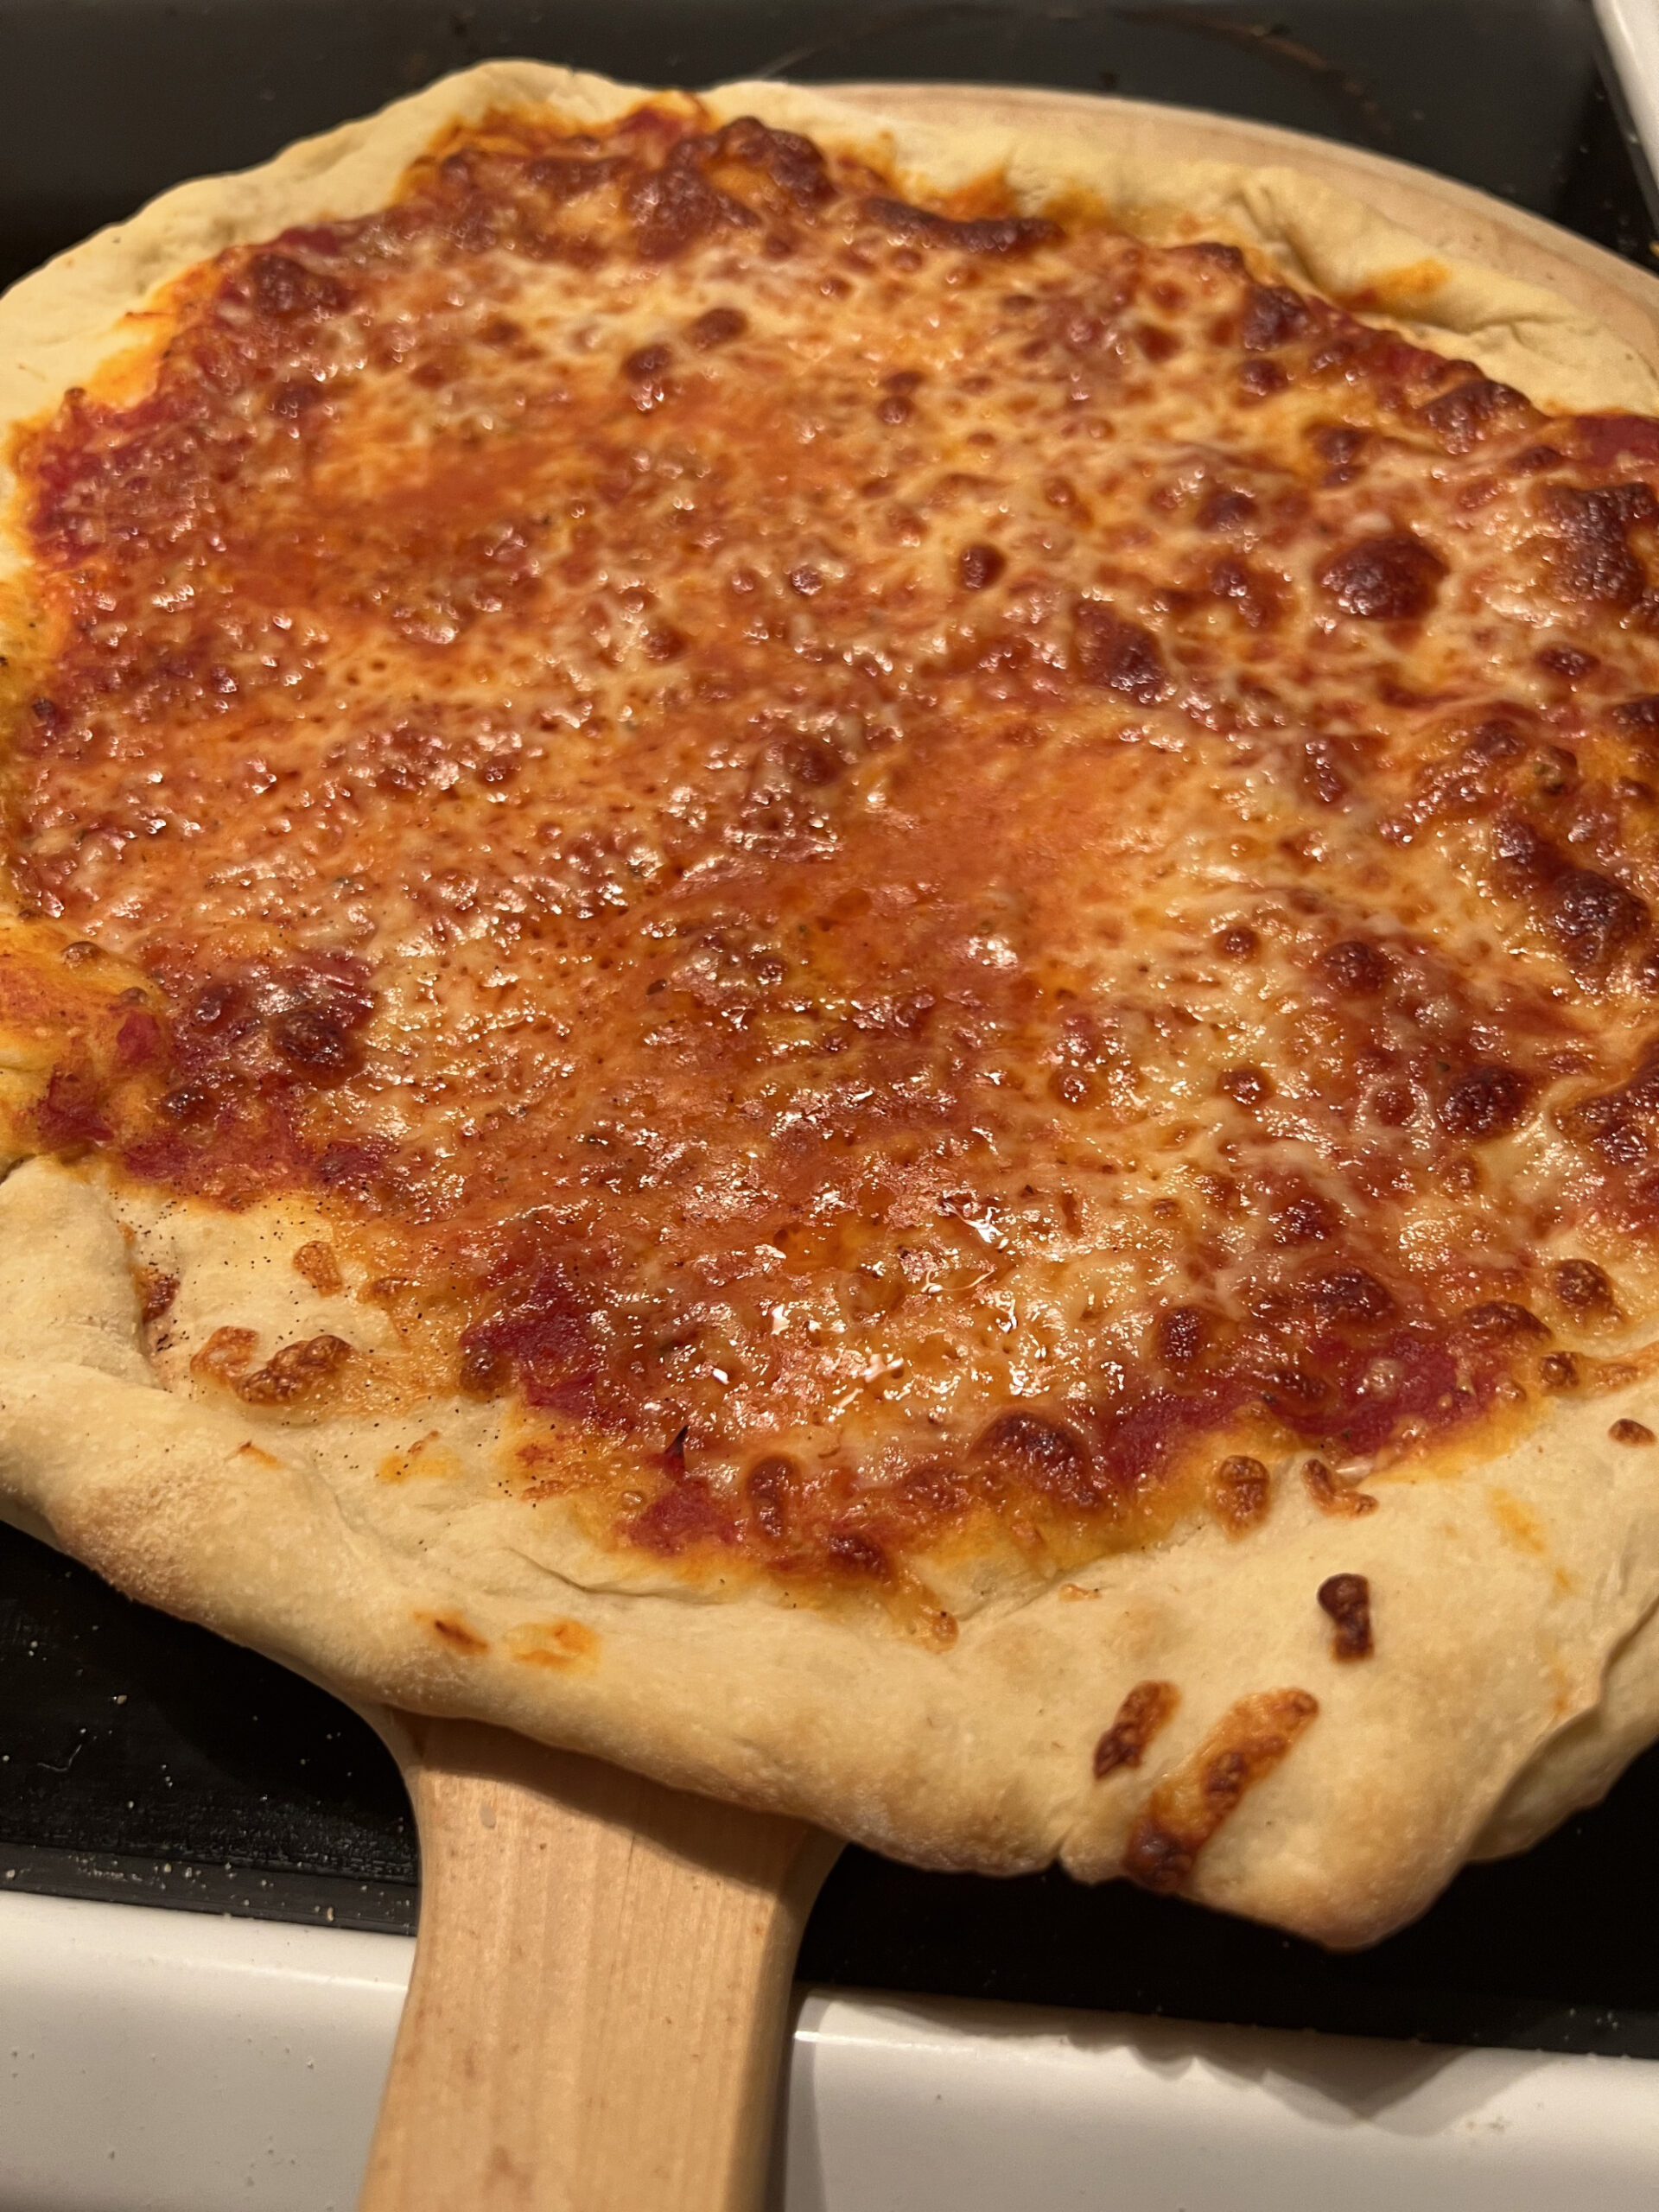
Alright. Take a look at that picture. If it makes your stomach growl, if you’re familiar with actual, honest-to-Brooklyn, no-nonsense, New York style pizza, you’re going to love this entry. I have, after spending half of my life, off and on, outside of the NY metropolitan area, finally cracked the formula for producing a NY-style pie at home. Read on.
The first step seems an insurmountable hurdle to clear. Real pizza ovens reach temps of 900 degrees or higher, which is critical for production of the crispy-outside, light-and-chewy inside of a great crust. Most home ovens struggle to reach 500, if you’re lucky.
The solution to this can be found in a revolutionary device called a Baking Steel. More durable, and with massively better heat conduction than “pizza stones”, I purchased a Baking Steel Plus model direct from the website. A 22 pound slab of carbon steel, 22″by 15″ (I went for the plus so I could make large pizzas). It’s cleaned and treated a bit like cast-iron (comes pre-treated) — you gently wash it, and then season with a little bit of oil, baking it dry. To get something approaching pizza-oven-hot, you place it on one of the higher racks, heat the oven to max (500 on my oven), and let it heat for an hour. In the last 15 minutes before you put the pie in, you turn on the broiler full blast (which should pop the surface of the steel up a bit higher).
Now for the recipe:
Dough:
(This will make enough dough for 4 pizzas of 12-15 inches diameter (depending on how good you are at stretching))
• 2 1/4 cups warm water
• 1 tbsp sugar
• 3/4 tbsp active dry yeast
• 2 tbsp olive oil
• 1 tbsp kosher salt
• 5 cups bread flour (plus more for working the dough)
• cornmeal or semolina flour for “lubricating” the pizza peel (you will need one of these, too).
Combine water, sugar and yeast in a large bowl, and let sit for a few minutes. If it starts to get foamy, you’re good to go — the yeast is alive. If it doesn’t, the yeast is dead and you need new yeast. Add the olive oil, salt and bread flour (higher gluten content = chewy crust), mixing BY HAND (none of this dough hook nonsense) until it forms a shaggy dough. Then knead for 5 to 10 minutes, adding flower when the dough becomes too sticky to handle (you will use a lot more — the 5 cups is the minimum starting point). You’re done kneading when you can stretch the dough thin without it tearing.
Divide the dough into four equal balls, and put them in four containers (lidded glass containers that have room to rise in them is ideal — although I use a single proofing container — seen here.). Smear them (and the inside of the container) with olive oil (so they don’t dry out, and don’t stick.). Let them rise for two hours at room temp, and then put them in the fridge for 1 to 7 days for a cold rise/fermentation. The longer they sit, the better the dough tastes as it progresses towards sourdough. Ideal time in the fridge, in my opinion, is 3 days.
Sauce:
• 28 oz can crushed tomatoes. I use Bianco DiNapoli.
• 2-4 tbsp olive oil
• 1 tsp sugar
• oregano/garlic powder to taste (optional)
That’s it. You don’t cook it ahead of time, and it’s not marinara. You can make this with just the tomatoes, and it would taste great. Adding a few ‘glugs’ of olive oil improves the mouth feel, and helps with cooking the top of the dough in a non-professional oven. The sugar helps counter the acidity of the tomatoes, and the oregano & garlic is a matter of personal taste.
Cheese:
Freshly grated whole-milk, low-moisture mozzarella. (i.e., an aged block, not a fresh ball). 6 to 8 oz per pizza. You want to grate it yourself — pre-grated mozzarella (or, god forbid, “italian mix”) is coated with corn starch to prevent clumping. Use skim if you can’t find whole-milk (which is better).
Grated pecorino romano or parmesan reggiano, to taste.
The Method:
Now you’re ready to go. You’ve heated the baking steel in the oven for an hour at 500 degrees, and blasted the top with the broiler for 15 minutes.
Take your dough ball, and place it on a floured surface. Just press it, from the middle out to the edge, which will create the outside crust ‘lip’. Once that’s done, gently pick the dough up, and place it across your hands (knuckles up), and rotate it, letting your knuckles and gravity do the stretching work. No need to throw — unless you’re sure you can manage it. Knuckle-stretching works fine. It may not result in a perfect circle — that’s fine. Just work it until it’s roughly 12-15 inches across. Place it (gently) on a pizza peel that you’ve scattered some corn meal or semolina on — the grains will act as ball bearings, allowing the pizza to not stick to the peel. Give it a test shake to make sure it can move. If it sticks, throw some more under the sticking part.
Sauce your pizza, using the back of a spoon to spread the sauce. When it looks to you like there isn’t enough, that’s probably the perfect amount. Remember, this is a thin pizza — you don’t want to soak the dough.
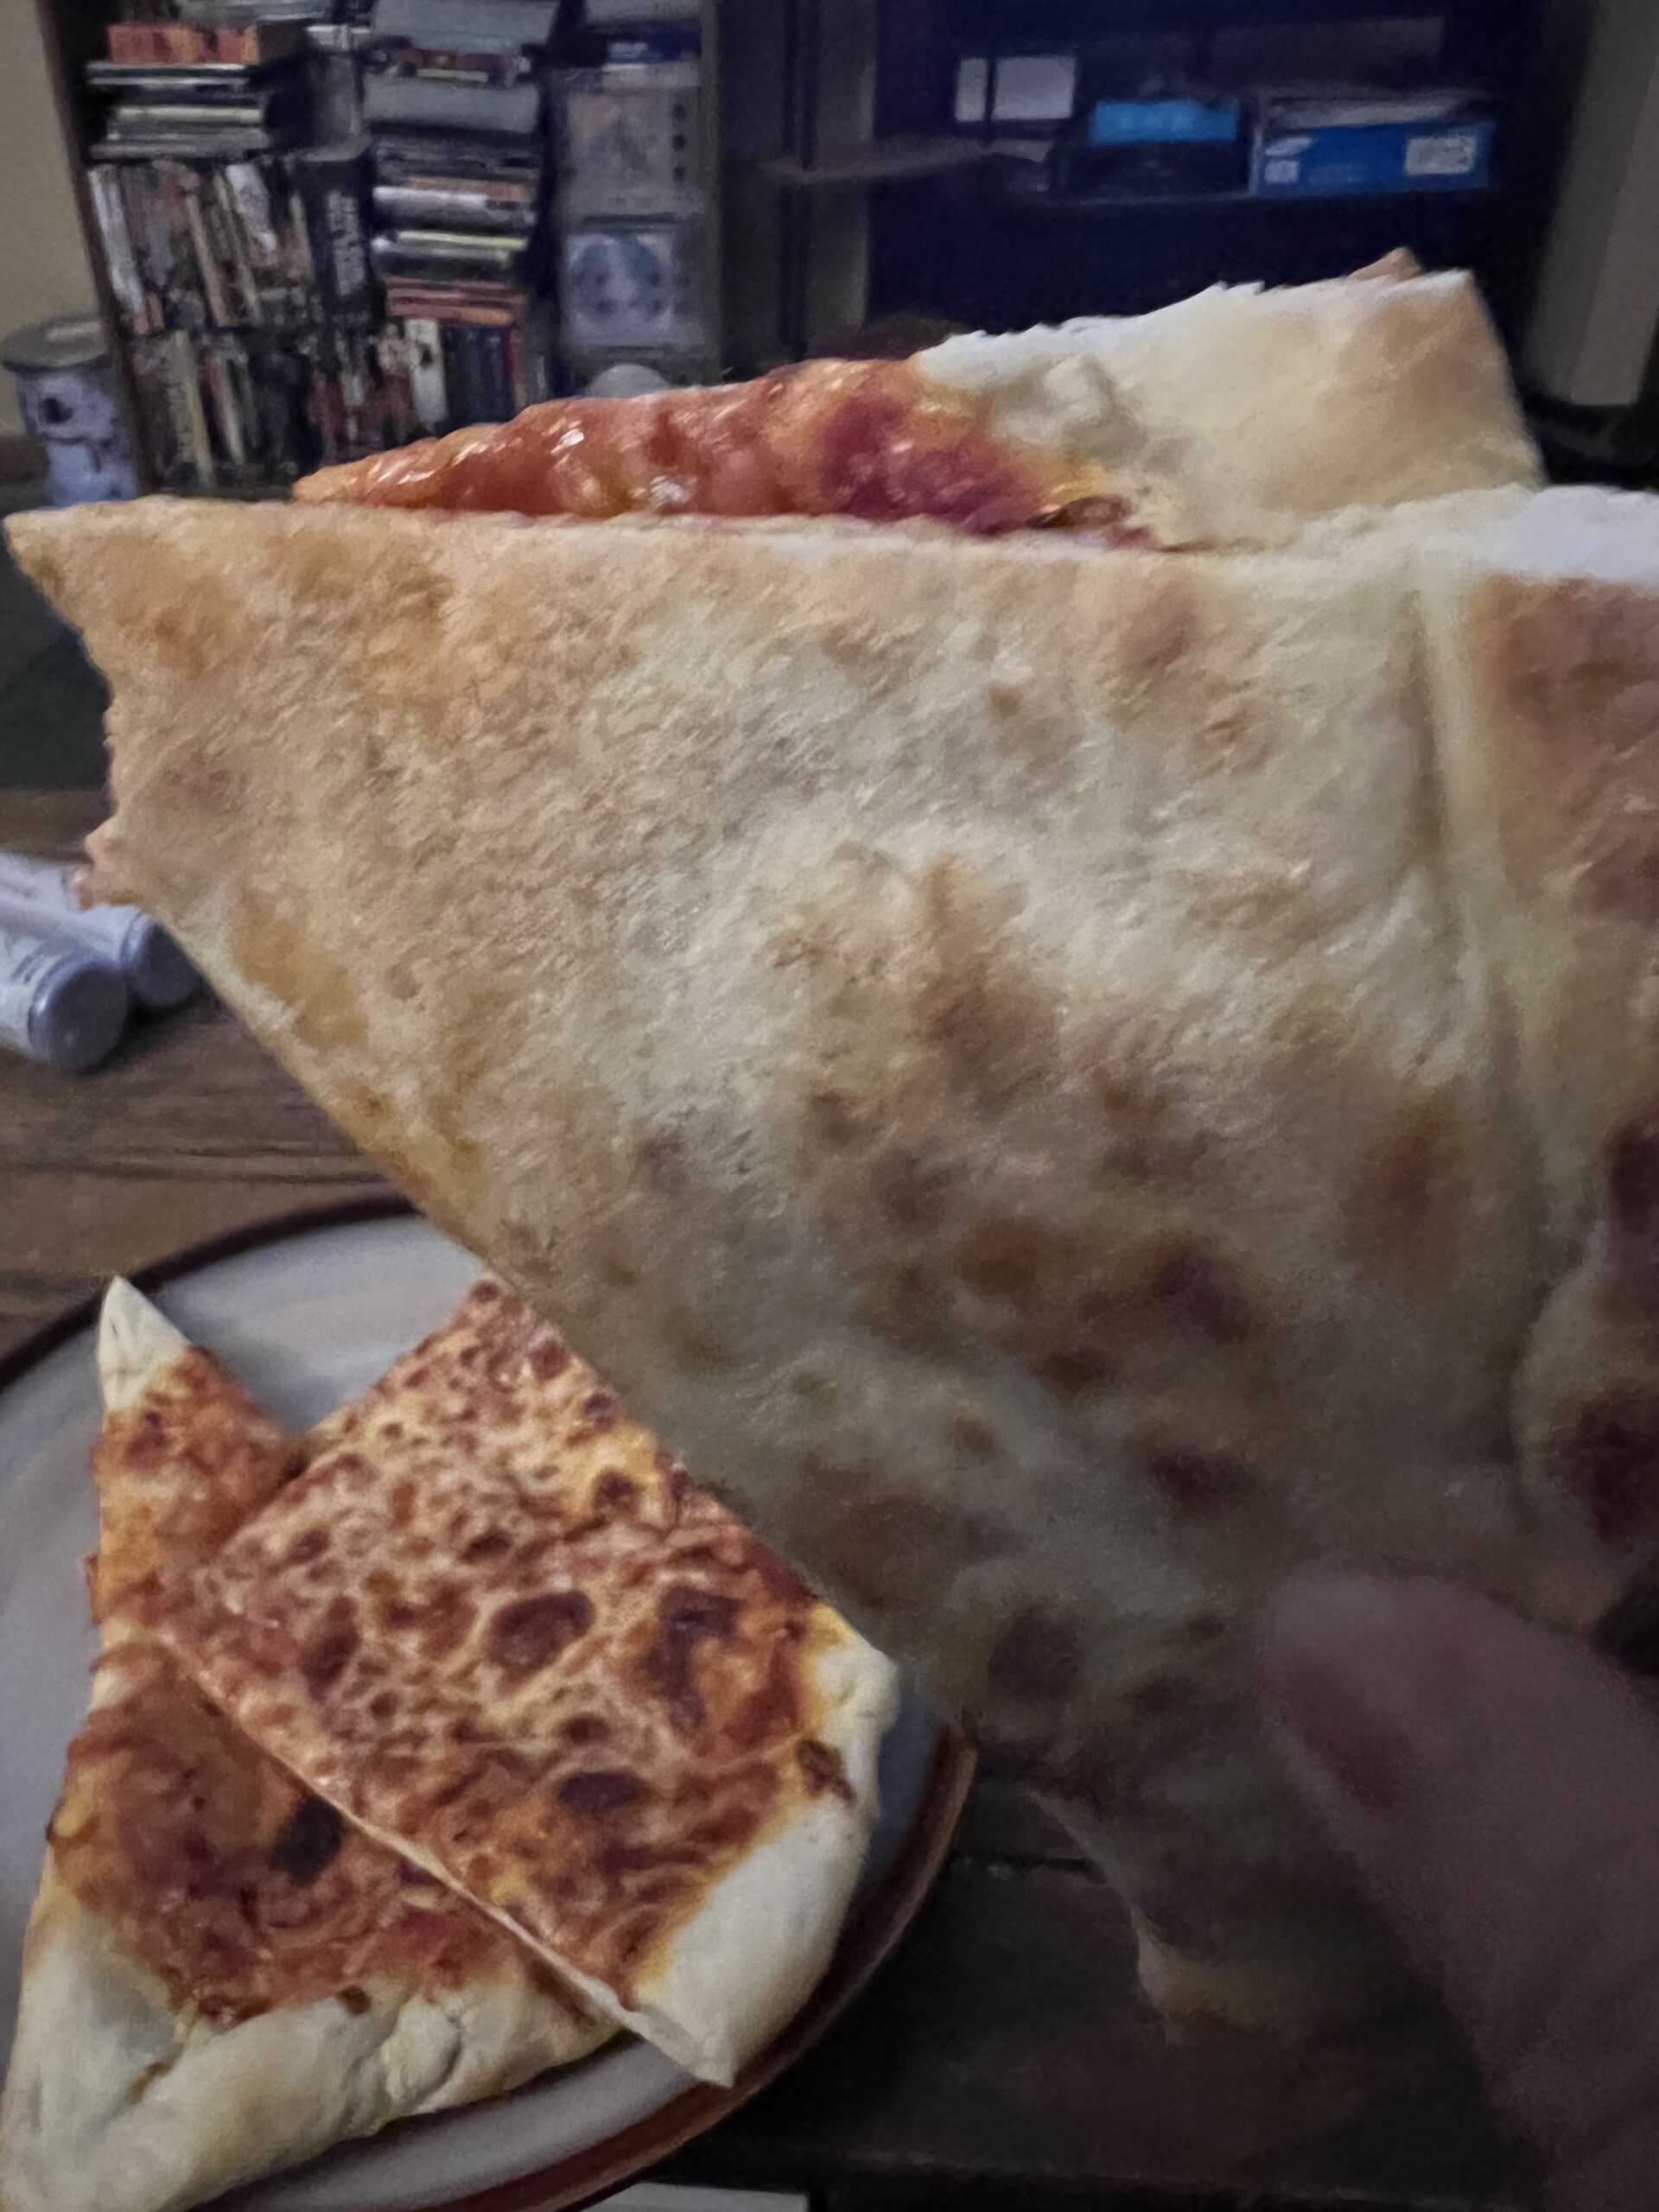
Grate some pecorino or parmesan onto the top of the sauce — this is for the umami and salty counter point to the mozzarella (which goes on next). Again, if it doesn’t look like enough cheese, it’s probably close to perfect. If you’re putting on toppings, they go on now. You should try a plain cheese pie, though — the proof of a genuine NY style slice is the plain — the brightness of the tomatoes, the nuttiness of the caramelized cheese.
Giving your pizza one last test shake to make sure you can launch it successfully (launch = place on the steel without messing it up, or burning yourself), go to the oven. Turn off the broiler (but leave the oven on). Open, place your pizza peel at the back of the baking steel, raise it at an angle, and in a series of short jerks, back the peel out of the oven, which should lay the pizza right on the steel. Close the oven.
After it has cooked for about 3 or 4 minutes, grab some tongs (I find this easier than using the peel for this step). Open the oven, grab the outer crust of your pie, and rotate it 180 degrees, so that it bakes evenly (this is called the “making allowance for crap home ovens” stage). Close the oven, and let it bake for another 3-4 minutes. If you feel it needs more time, let it go another couple of minutes (will probably need it if you have moist toppings like mushrooms, for example).
Open the oven, grab the crust with the tongs, and lift, to check the bottom — you should see “leoparding” — the brown spots in the above photo. Slide the peel underneath, and remove your pizza. Let it sit until it’s no longer bubbling like magma, slice and eat.
Yeah, prepping the oven for over an hour for an 8 minute cook time is a bit of a hassle, so plan on using that heat to make multiple pizzas!
You’re welcome. Let me know how yours turns out!